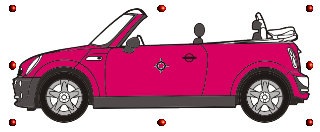
Assuming that you already have inserted an Image on your page in the OpenOffice Draw program, move your cursor over it. Select the Image.
8 Green Square Handles will appear around the Image. These Handles are used for Resizing.

8 Green Square Handles will appear around the Image. These Handles are used for Resizing.

 The 8 Green Squares Handles around the Image will change to 8 Red Circle Handles.
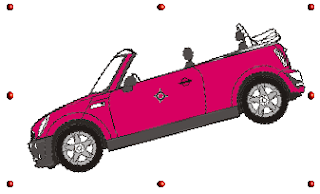
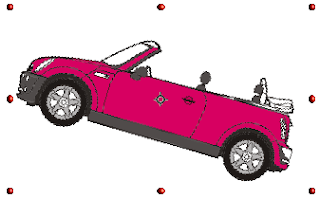
The 4 Circle Handles in each corner will be for Free Rotating the Image. The other 4 Handles will be for Skewing the Image. To Free Rotate the Image, move the cursor over 1 of the corner Circle Handles.
Notice the cursor will change to a Rotation Handle.


Hold down your mouse button and move in a Clockwise or Counter-Clockwise direction.
Then you will have a rotated object or image as the case may be.


No comments:
Post a Comment